Brittney Harvey Brittney Harvey

THE ULTIMATE FAMILY PHOTO WALL ART GUIDE

The only art that goes up on my walls is pictures that I have taken of my own family. I like every wall in my home to tell the story of our family and to act as a conversation piece when guests come over. What else is art good for, besides connecting with other humans in deep and meaningful ways? Naturally, one of the most common questions that I get as a photographer is “what is the best way to display our family pictures?” So I decided to make a guide just for you. The good news is that great wall art doesn’t have to be complicated or inconvenient. I’ve broken it down into a few simple steps to make this as easy as possible for you.


1. Colors: What to consider

The creation of your art begins with the photoshoot and the planning leading up to it. The colors you choose to wear at the location you choose to have photos done at. Different wardrobe colors will drastically change the look and feel of your photos. Take a look around the room you plan to display your photos in. What are the tones? Are they warm (yellow scale) or cool (blue scale)? Bright or muted? Is there an accent color? This is the starting place. You will want to dress in colors that compliment the room and maybe use your accent color paired with plenty of complimentary neutrals as the start of your color palette for your photo wardrobe.

The second thing to consider when thinking of colors is the location of the photos. If your room is full of colors, a lush, green forest might look really nice. If your living room is full of neutrals and tans, choose a dry field instead. If your room has neutrals and grays, a winter or waterfront scene may be the way to go. It’s all up to you and your taste. There is no wrong answer, but I want you to consider these things as you're planning your photoshoot so that it all flows together at the end. When selecting photos to have turned into wall art, choose a cohesive color palette.

Pro-Tip: Discuss your plans with your photographer, she or he may be able to help you make location, wardrobe, and print product (medium) selections that will compliment the room. We are artists and have an eye for color and feel, we want to help!


2. Which photos to print

If you are choosing only one photo to print and display, I recommend selecting a photo that has all family members within it. I like photos that include more of the scenery from the session and where no one is looking at the camera. Photos where no one is looking tend to be warmer in feeling, causing your space to feel more “home-y”

If you are printing more than one of the pictures, I recommend selecting one of each of the following:

  • The whole family with no one looking at the camera, taken at a wider angle for more scenery

  • The whole family interacting with each other up close, without as much scenery

  • Mom and dad together without the kids

  • All the kids together

  • Each child individually

If you still have space to fill, then you can expand and choose more images, usually I’d recommend more group or movement images to keep everyone equally displayed

One final note: Pay attention to the orientation of the photos vs how you play to display them. Some photos are taken in a landscape format (the long side is top and bottom) while others are taken in a portrait format (the long side is on the sides). If a photo was taken in landscape, it may not look great if it has to be cropped to fit into a portrait frame. Just be mindful of how you plan to display and ask your photographer if you have doubts.

3. Where to order prints

I recommend having your photos printed by the photographer who took them, if they offer prints. If they don’t offer prints, ask them to refer you to a friend photographer who does. And before you roll your eyes and tell me how expensive that is, hear me out for a minute, because this is important. If you print something and it does not come out right, it will cost you twice as much to have it done again or you’ll look at it every day and feel upset that it’s not quite right.

Yes the price may be a little higher to buy through your photographer than some of the big-box print shops, but your photographer is going to care a whole lot more that your prints are done correctly and look amazing. You’re also gaining valuable time back by not doing the printing work on your own. There is a whole lot of thought that goes into ordering prints so that they come out just right. Here’s a little secret, it is marketing for us, so we want every piece to be gorgeous.

Things your photographer will do that the public printers won’t

  • Double, triple check that the image will print correctly

  • Resize and check resolution for optimal, clear printing

  • Adjust for standard and digital stretch on canvases and other items- an option not available through public printers

  • Customize to almost any size or product

  • Calibrate our screens to our print labs so the colors, blacks, and brightness print flawlessly (every print lab will print differently)

  • Ensure we are only working with labs that use quality supplies so that your art lasts (warping and discoloration is a buzz kill)

  • Support your local economy

I understand prints can seem like an extra expense when they are not included in your session fee, but if you budget for them and expect to be buying them it takes the edge off of the expense. Most photographers will share their print pricing with you if you ask. You might be surprised to find that your photographer sells you custom art made with a lot of love at a price lower than you could buy wall art for at Target. I’m always in favor of supporting your local artist, which in turn supports your local economy.

If it’s been a while since you’ve had your pictures done, I guarantee your photographer will jump for joy if you reach out asking them to print your photos. Tell them you have your jpeg files and would love to have them print it for you.

4. Print MEDIUMS

There are endless options for materials to have your photos printed on. I’m going to cover the most popular ones paper, canvas, and my personal favorite- metal. Please know, there are many options like wood, acrylic, albums and a lot of others in all kinds of shapes, so please ask if you’re looking for something specific.

Paper Prints

  • Require frames

  • Sustainable, best for frequent photo updates and repurposing

  • Vintage appearance

  • Works in any space

  • Most customizable- paper textures and frame options

  • Economical

  • Crisp and clear visually


Canvas

  • Frame is optional- but popular these days!

  • Classic, traditional appearance- works in any space

  • Limited texture options

  • More expensive

  • Best for larger, lower traffic spaces

  • Softer, muted look

  • May distort images if ordered incorrectly

Metal Prints

  • No frames required

  • Sleek, modern appearance

  • Gloss or matte options

  • Great for small or large displays

  • Most expensive print option

  • Vibrant and crystal clear appearance

  • Sits flat against wall, great for tighter spaces

  • Damage resistant- for high traffic areas

5. Wall Art PATTERNS

Patterns and media can be a little interchangeable when choosing how to display your art. Some do best with choosing medium first, some prefer pattern first. I find that for me medium dictates pattern, so that’s how I chose to write this guide.

Grid:

A grid will look much like an instagram feed. It is tidy, organized and geometric.  Much easier to put together. A great option for a busy mom who doesn’t want to think too hard about wall art or spend time collecting and curating pieces. Grids are typically my preference and can be as simple as just one image.

Example:

Gallery:

I like to think of galleries as organized and curated chaos. They can be much trickier to get right and sometimes take time to collect pieces to put together.

I personally struggle with galleries, because I like a clean and minimalist look. I did scour the Internet for the best tips to get it right and here’s what I found:

  • Galleries are meant to fill a big wall, so space out the art. Don’t hang pieces too close together.

  • Don’t use too few pieces

  • Vary the sizes of your pieces

  • Use pieces that are 8in x 10in or larger

  • Hang both in vertical and horizontal orientations

  • Avoid commercial (mass produced) art pieces

Example:

Something in between:

Sometimes I like to opt for something in the middle. There is no wrong answer in art.

Example:


Pro Tip: Use painters tape to outline on the wall when measuring size to see what looks right.

Lay out the gallery or grid on the floor before hanging on the wall to make sure your pieces are arranged perfectly prior to applying hardware.

6. ART Size

Sizing is relatively simple. You can use a single piece or multiple pieces to make up the space filling the follow guidelines.

  • Choose art that is 1/2 to 3/4 the width of the wall or furniture it’s being displayed over.

  • Art over fireplaces should be as wide as the opening of the fireplace regardless of mantel width

  • Blank walls, use the three eighths rule. If you have a 9 ft (or 108 inch) wall, you will multiply 108 inches x 0.57 = an art piece that is about 60 inches wide.

  • Choose art that is 1/2 to 3/4 the width of the wall or furniture being displayed over.

  • Art over fireplaces should be as wide as the opening of the fireplace regardless of mantel width

  • Blank walls, 3/8s rule. 9 ft wall= 108 inches x 0.57 = an art piece that is about 60 inches wide.


7. Height

  • Always hang art by it’s center, never alight by tops or bottoms (unless It’s on a shelf)

  • 57 inch rule. Center of the art should be 57-60 inches high, or eye height of an average person.

  • 6-8 inches above furniture pieces

  • When hanging multiple pieces, each should be spaced 3-4 inches apart and fill 2/3 width of furniture it is displayed over or the wall it is displayed on.

  • For very large art, over 120inches, you do not need to follow the 57inch rule, just hang your piece so that the bottom edge is about a foot above the floor.


    That should just about cover everything you need to know and consider when turning your Spokane family portraits into wall art. And by the way, I am booking sessions for fall and I’d love to make your wall art dreams come true. Click the button below to secure your spot and I’ll help you plan it from start to finish.

Read More
Brittney Harvey Brittney Harvey

reasons Why you should hire a professional photographer for your newborn photos

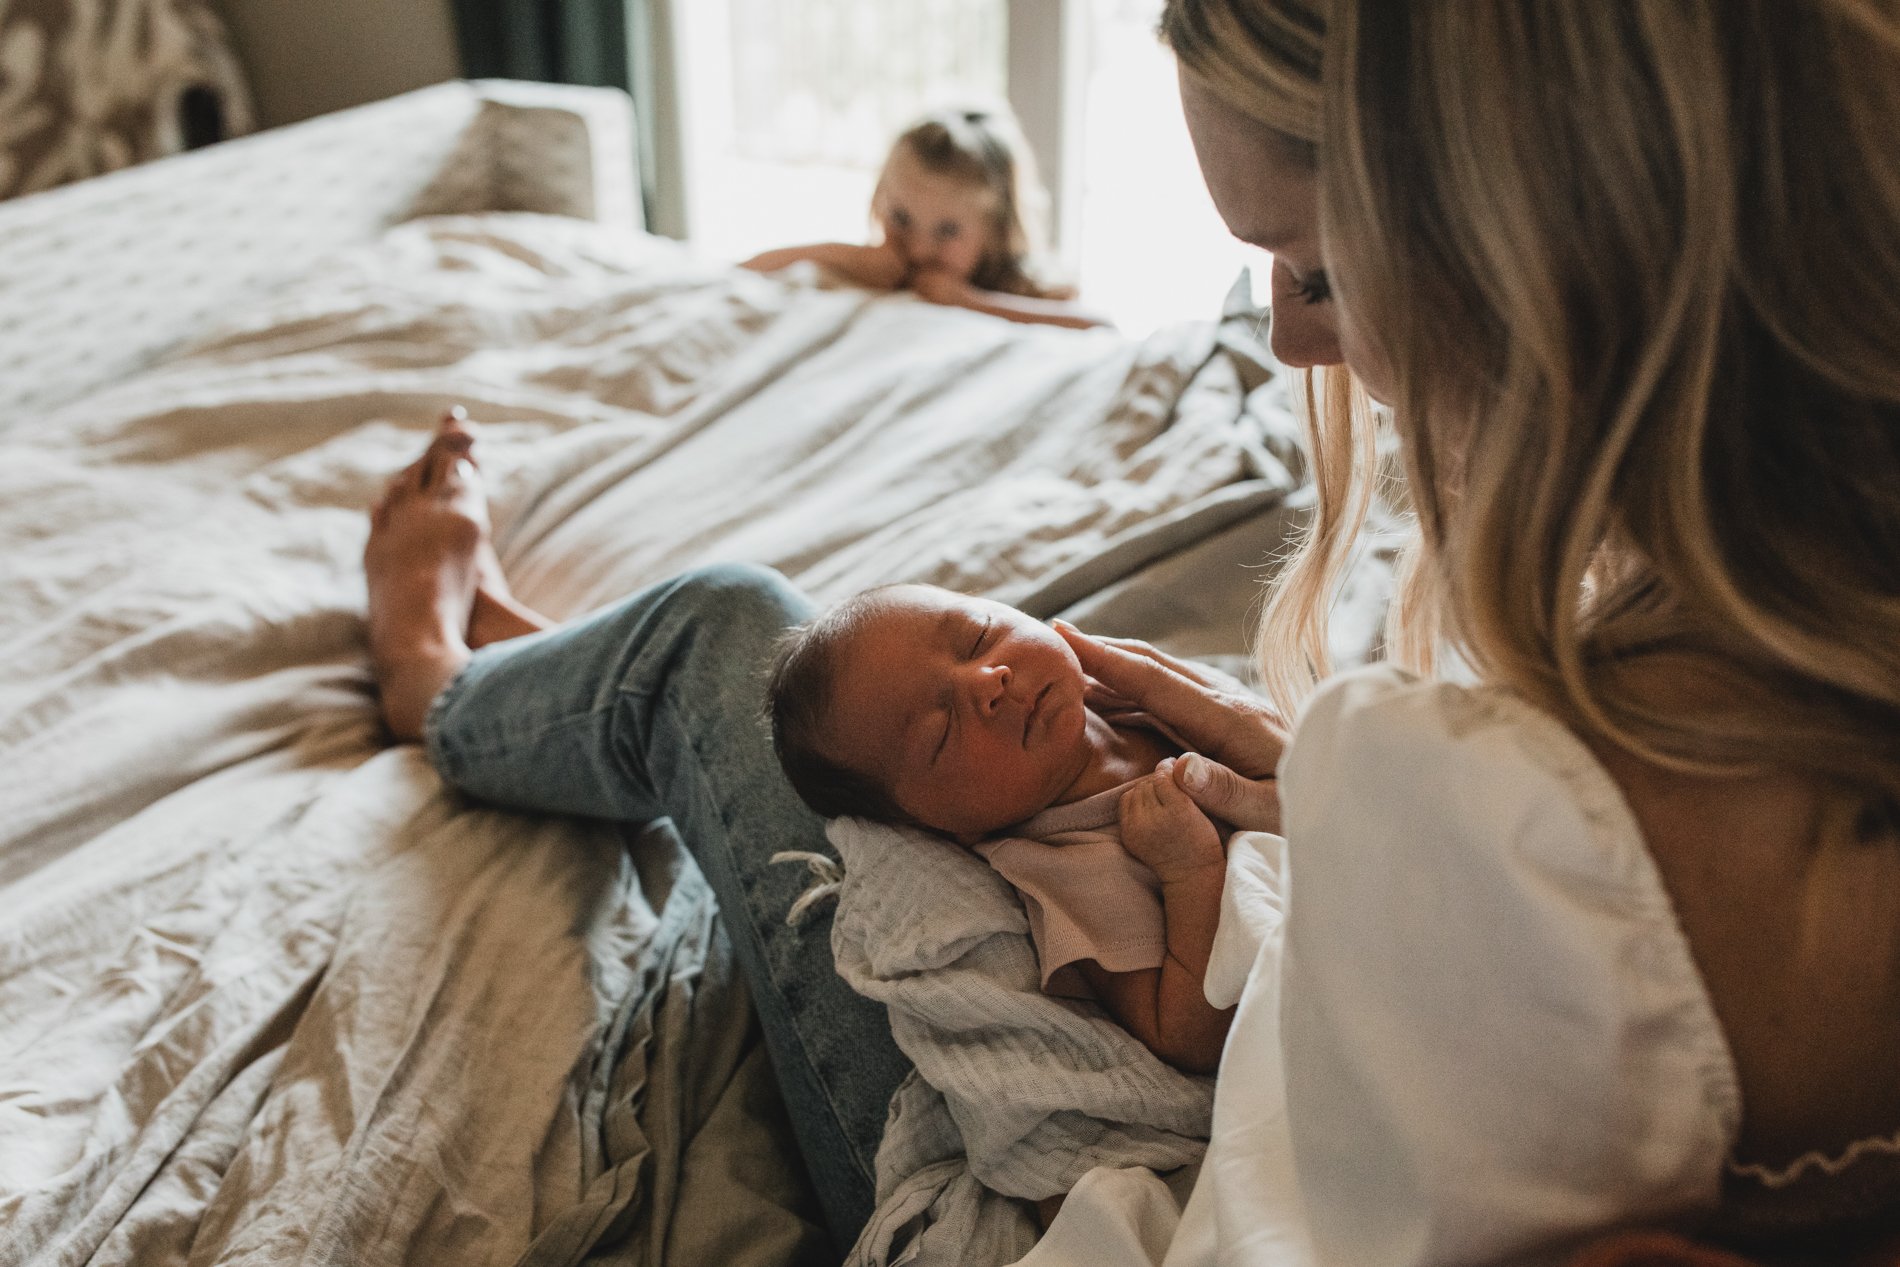
Awaiting the arrival of your new baby whether it’s your first or your third is such an exciting time. There is so much preparation to be done and so many decisions to be made. One of the biggest decisions to make is whether or not to hire a photographer for professional newborn photos and I’m here to tell you it’s worth the investment.


  1. The photos are guaranteed to be good. You’ll be flattered and have great photos of yourself with your new baby. So many moms don’t get enough pictures with their new baby, because they are hiding from the camera or the one taking the photos. Postpartum can be really hard with all of the changes, so flattering photos are so invaluable at the time and also later down the line. This doesn’t mean that you have to put on a fancy dress, most of my clients wear leggings and a cardigan, but even just putting some make up on can really help make you feel like yourself again. Aside from just making you look good, your baby will be flattered too. Photographers have all kinds of tricks to take flattering photos of your squishy little newborn. We take all the shots of baby, big sister holding baby, the whole family together, all the good stuff. The final thing is that the colors will look pretty, it takes a very trained eye to edit colors just right to flow well. Different lighting and room decor can be challenging for an amateur, so hire a pro that knows how to handle any lighting and color situation.

  2. Phones do not take print quality photos, sure phones can take RAW image files today, but the lenses and settings controls are still not comparable to a real camera. Most of your phone images will not print well and let’s not even talk about how much phone storage will be eaten up by those huge files. It takes a lot of time to learn the skills to take great photos, especially of newborns. The skill of posing takes years to master. The most unposed looking photos are often heavily posed and directed even though it may not look like it.Photographer will print an album for you, so you can focus on your baby. Hire the pro, so that your family looks naturally your best.

  3. Professional photographers know how to pose your baby safely and have tricks to flatter baby even if there’s fussing. All newborn photographers have tricks, but not all tricks are equal. Some photographers, like me, specialize in baby-led newborn posing where there are no unsafe practices being used and we move at the pace of your baby. Some photographers use unsafe methods like heat lamps, over-feeding, ultra-tight swaddles and just downright unsafe poses. Choose your photographer carefully. Newborn photography is not a job for someone who is new to photography. Select someone you feel safe with and whose style aligns with what you like.

  4. The best professional photographers can and will come to you. Newborn pictures can be done in your home, which is best for most families. Leaving your home with your new baby can be very difficult in the early days when the whole nursery needs to come along with you. Having someone you feel comfortable inviting into your postpartum space and who you trust to take great flattering photos is so important. When I enter a postpartum space to work, I enter softly and cognizant of the family who has just gone through a huge change, I even help tidy the space we are using for photos. The other beautiful thing about photos in your home is that it is more on your time, the sessions are less rushed and there is no second family waiting at the studio door for you to hurry and pack up your baby so they can have their pictures. The concierge home photography experience is relaxed and honestly luxurious, because the photographer does the work and then does the packing to head out, rather than the other way around.

  5. You’ll be sore after birth, leaning over your baby to take a picture may be uncomfortable and you may be exhausted. The hormone rush after birth is indescribable and sometimes leads to weepy moments. For me, I had the hardest time taking my own newborn’s photos and I do it for a profession- for me it was the soreness and I couldn’t stop crying. Having another person around can help distract from the hormone swings and allow you to be more present for your photos. Allow the photography to be part of the experience of having a new baby and let a professional do the heavy lifting, I promise you it is worth every penny. I also include albums with my newborn sessions so no need to design a baby book, I took care of that for you. The sleep deprivation can make it difficult to accomplish tasks like that, I try to take on as much of the memory documenting as I can for my clients.

  6. Inviting an experienced mother in. Many professional newborn photographers are mothers and work around new mothers all the time. It can be reassuring to have someone come in to have a low pressure conversation about how you’re feeling and to confirm that what you’re experiencing is normal. Photographers really can be like therapists, that’s why it’s so important to hire one that you trust and connect with. You are inviting them into your postpartum space, which can be a very sensitive and vulnerable time. I personally struggled a lot in postpartum. My daughter had colic and reflux. I didn’t handle my hormone swings well and had a lot of anxiety. I cannot describe how healing it was for me to have conversations with other moms during that time to help me through it. I remember that feeling every time I walk in to take someones newborn photos and I try to be that mom further down the line to support my clients during the session and let’s be honest after it too.

Interested in booking a Spokane in-home newborn session? Click here for more information.

Read More
Brittney Harvey Brittney Harvey

Tips for Classy Breastfeeding Photos | Spokane Newborn Photographer

Mother nursing baby in bed while older child plays in room.

Breastfeeding photos. We all want them, but we don’t want our goods to be shared with the world, just our baby. I have a handful of tips that keep breastfeeding pictures classy so that you can share pictures of this intimate relationship without sharing your intimates.

Number 1 tip, hire a professional lifestyle newborn photographer to take the pictures for you. Preferably someone with a lot of experience in these types of pictures. We know what you want to share and what you don’t. We can take beautiful nursing pictures for you to cherish that you' won’t mind sharing, because your nips will be covered. We know how to take the angles and keep everything discreet.

Tip number 2, do not make the boob, the center of the focus. The baby should be the focus in these pictures. Focus on the back of the head, the hands, the forehead and eyes, the other family members being around and supporting mom. I like to be very careful to ensure the pictures don’t look like a baby nursing unless you look closely at them. This keeps other viewers from feeling like they’ve seen something they don’t want to see and also keeping the memory for the mom who wants to remember the time when she nursed her babies.

Tip Number 3, wear a nursing friendly top. Everything in photography comes back to wardrobe when you are the one being photographed. Choose a shirt with the right amount of coverage and stretch, with some pretty features. You’ll want your baby to have easy access, but without showing off more than you need to.

Mother nurses baby while family joyfully sits with her.
Mother breastfeeds newborn while conversing and holding hands with older daughter in living room.

Spokane Breastfeeding Pictures | Spokane Newborn Pictures | Spokane Lifestyle Newborn Photography

Read More
Brittney Harvey Brittney Harvey

3 pictures to take of your new baby | Spokane Newborn Pictures

We all take tons of pictures of our new baby with our phones, but I think there are a lot of pictures that parents forget to take of details that they will want to remember later. Straight from a newborn photographer, here are some of my favorite poses or pictures to take of babies and none of them require uncomfortable or unsafe posing.

Mom and Dad together holding their new baby. This is one of my favorites and a good reason to hire a professional to take pictures of your family with your new baby. Mom and Dad together in a picture with their new baby is a priceless keepsake. So many pictures only have one parent in them and babies deserve to see pictures of themselves with both parents together .

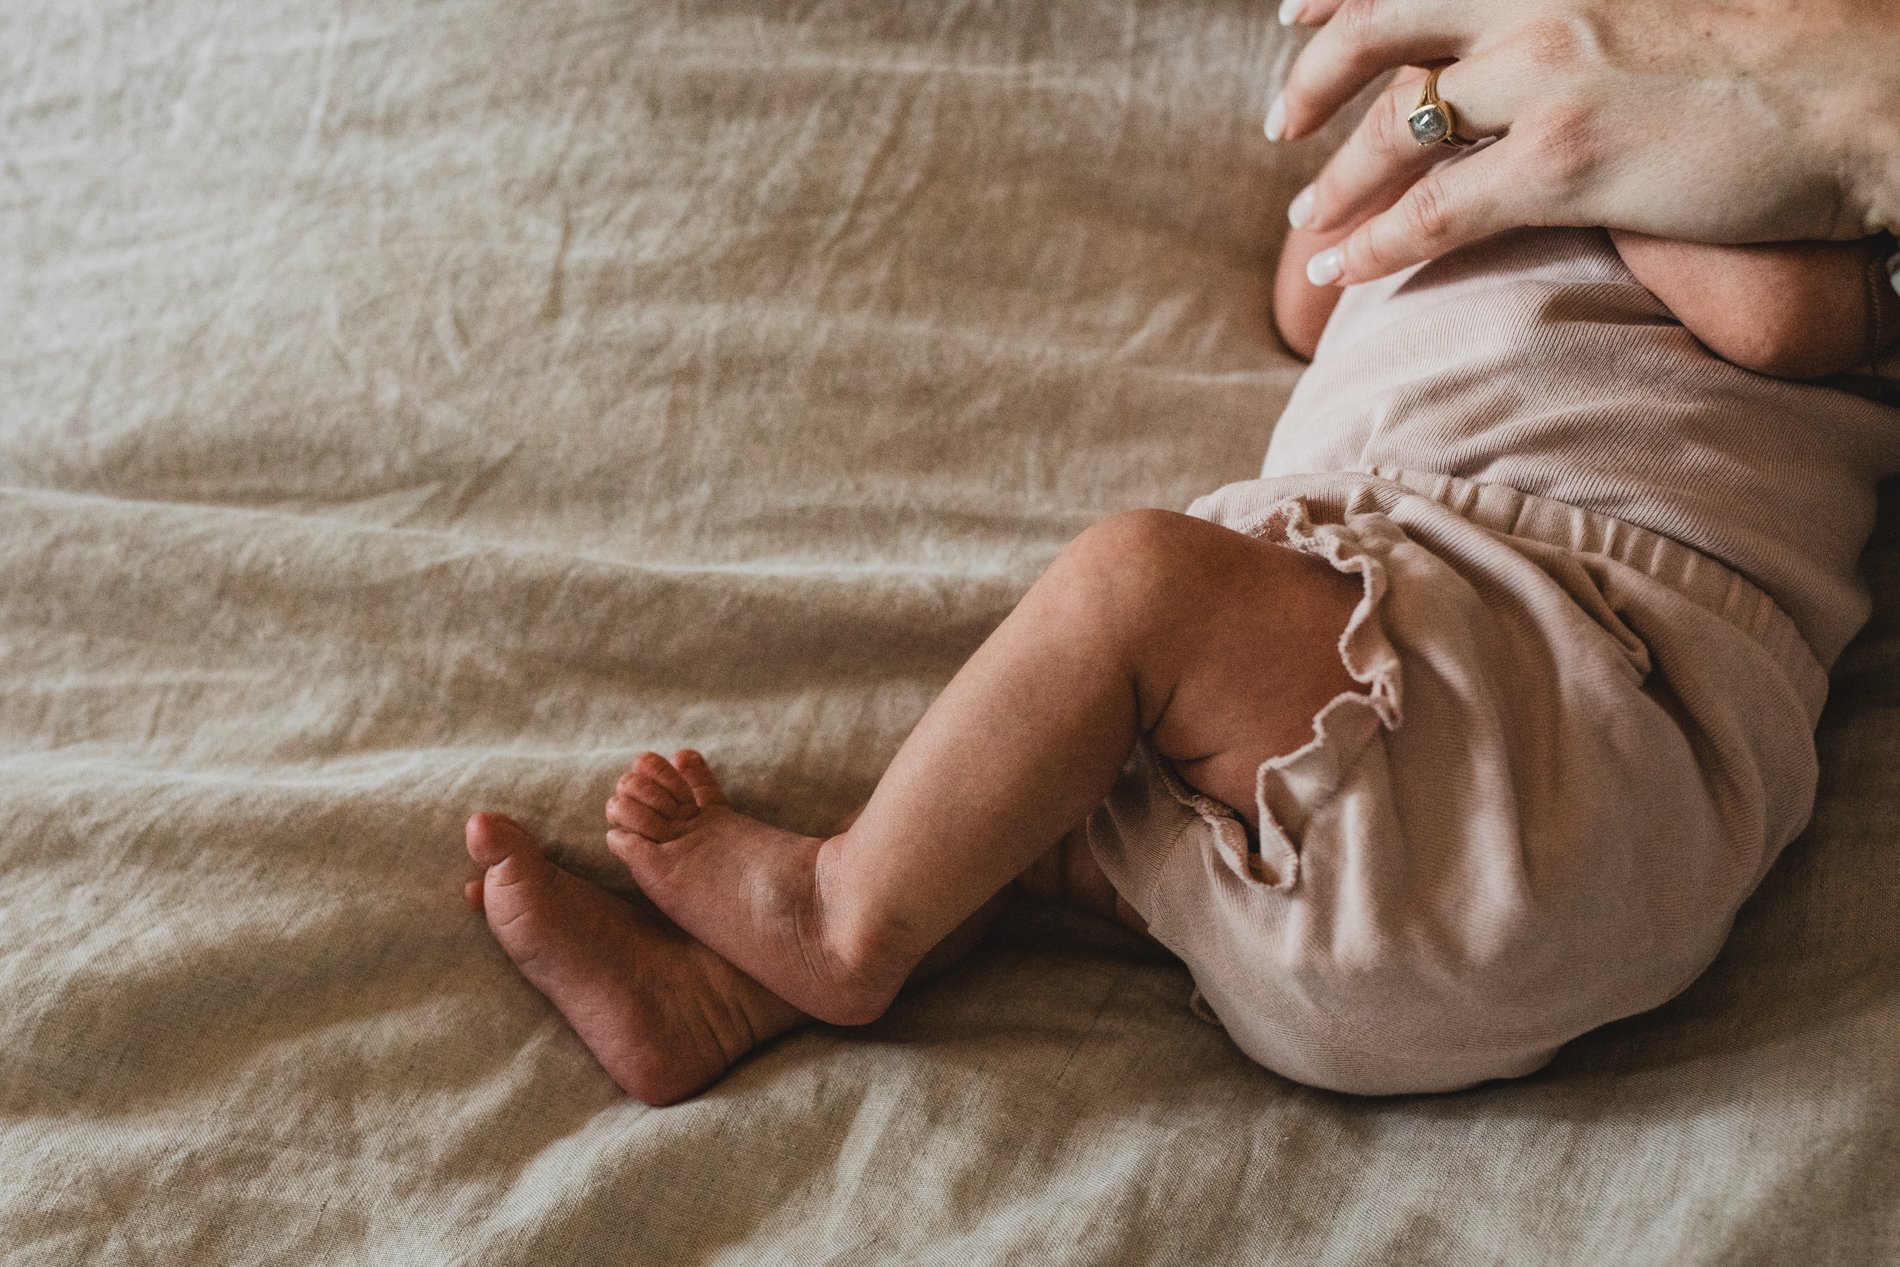
Your new baby’s feet. I’ve photographed hundreds of babies and I can say with certainty, no two have feet that are alike. They curve differently, they wrinkle differently. Feet are a huge point of connection with your little one, babies love to have their feet touched. Moms and Dads can’t help but kiss their babies feet. Our feet ground us and connect us. Don’t forget to take pictures of your baby’s feet.

Baby in Dad’s hands. I love pictures of dads holding their babies. Pictures like this serve as a reminder of how tiny our baby once was. Babies just don’t keep and this is an excellent way to remember.

Spokane Newborn Pictures | Newborn Photography | Lifestyle Photographer

Read More
Brittney Harvey Brittney Harvey

How to dress for Newborn Photos at home? | Spokane, Washington

As a photographer, I’ve seen so many wardrobe combinations for newborn photos. I see how dressing can be overwhelming. Here’s what I recommend for dressing your family for newborn pictures.

Book Early.

My first little tip that you did not ask for is to book your pictures early, like end of the second trimester early. The earlier you book, the earlier you can start styling. You’ll have all the tips from your photographer and plenty of time to shop. You likely, won’t want to be planning photos with your newborn in your arms because you’ll be focused on your baby at this point, so earlier is best.

Keep it simple.

Keep your outfits simple. Newborn photos should be intimate and you do not want outfits to be distracting from your new baby. Use minimal accessories like hats, too many layers, or high heels.

Keep it comfortable.

In the early days, you’ll be healing and not sleeping too much, so you’ll want to be relatively comfortable. Think comfortable, but not embarrassed if the doorbell rings.

Colors for any home.

Colors will make a huge difference in your pictures. I recommend choosing colors that are as neutral as possible, because they will not clash with the colors in your home. Wear things like white, cream, black, charcoal, gray, denim, tan, muted blues. These types of colors tend to work in any home and are rarely too trendy.

The baby.

There’s no need to fuss with baby’s outfit too much. Dress them in a white or neutral, fitted, onesie. Have some cute or plain white diapers on hand. Some families like to use a muslin swaddle for a few pictures in a cute color. There’s no need to try to find hats or over the top outfits. The baby is the focus of these pictures, not the outfit. We may take some nearly nude photos as well, so keep everything natural and true-to-life.

Mom.

For mom, I suggest maternity leggings or jeans and a nice sweater or cardigan. Most mamas have a baby bump after the baby is born, so make sure that what you plan to wear will be comfortable. Bare feet or some cozy knitted socks. Be comfortable and cozy. Take a shower and do your hair and makeup in a natural way.

Dad.

For dad, I like comfort. A good pair of jeans or joggers. A nice t-shirt in a slightly darker color than what mom is wearing. Choosing a shirt with texture can add a little bit of elevation to this look, like a comfortable long sleeved thermal. Dad can go barefoot or wear some moccasin slippers. Just keep it natural and comfortable.

Other kiddos.

For your older kiddos, dress them casual but in the same neutral color scheme. Jeans, t-shirts, casual dresses are all great options. Don’t put too much pressure on them, they’re going through changes too.

Read More